
Light is a crucial element that enable us to produce photos. It is thus a source that is crucial for a photographer to analyse and acknowledge its principals and functionality.
Digital Cameras found into today’s era function with a different light sensibility from the film cameras that were utilized extensively before. Digital SLR cameras have a sensitive CCD sensor or CMOS sensor. Through this sensor light is detected and images are thus produced.
Auto White Balance has the ability to decide the Colour cast of the particular scene of shoot. In each and every digital camera a colour cast is pre set from the factory. The famous Kelvin has acknowledge and studied into depth the notion of Light source and the temperature that comes within such an element. He was able to acknowledge that the light in the morning vs that of the sunset had different tonal quality with variable heat capacity.
DEGREE KELVIN SCALE of daylight is thus 5,200 degree/K.
Thus the whitest part of an image is a significant and important part for a photographer to measure. This is because white has no colour cast as it is the clearest point.
Colour Casting is a significant part for one to analyse as it provide a constructive elemental feature in the work that one will be able to produce. Van Gogh’s work is a good example for one to evaluate. His work justifies and brings into life how deeply significant is the acknowledgement and study of colour range temperature. The accurate and closer one is able to bring out from the colour temperature the real and more refined the result will be.

Blonde 2000K
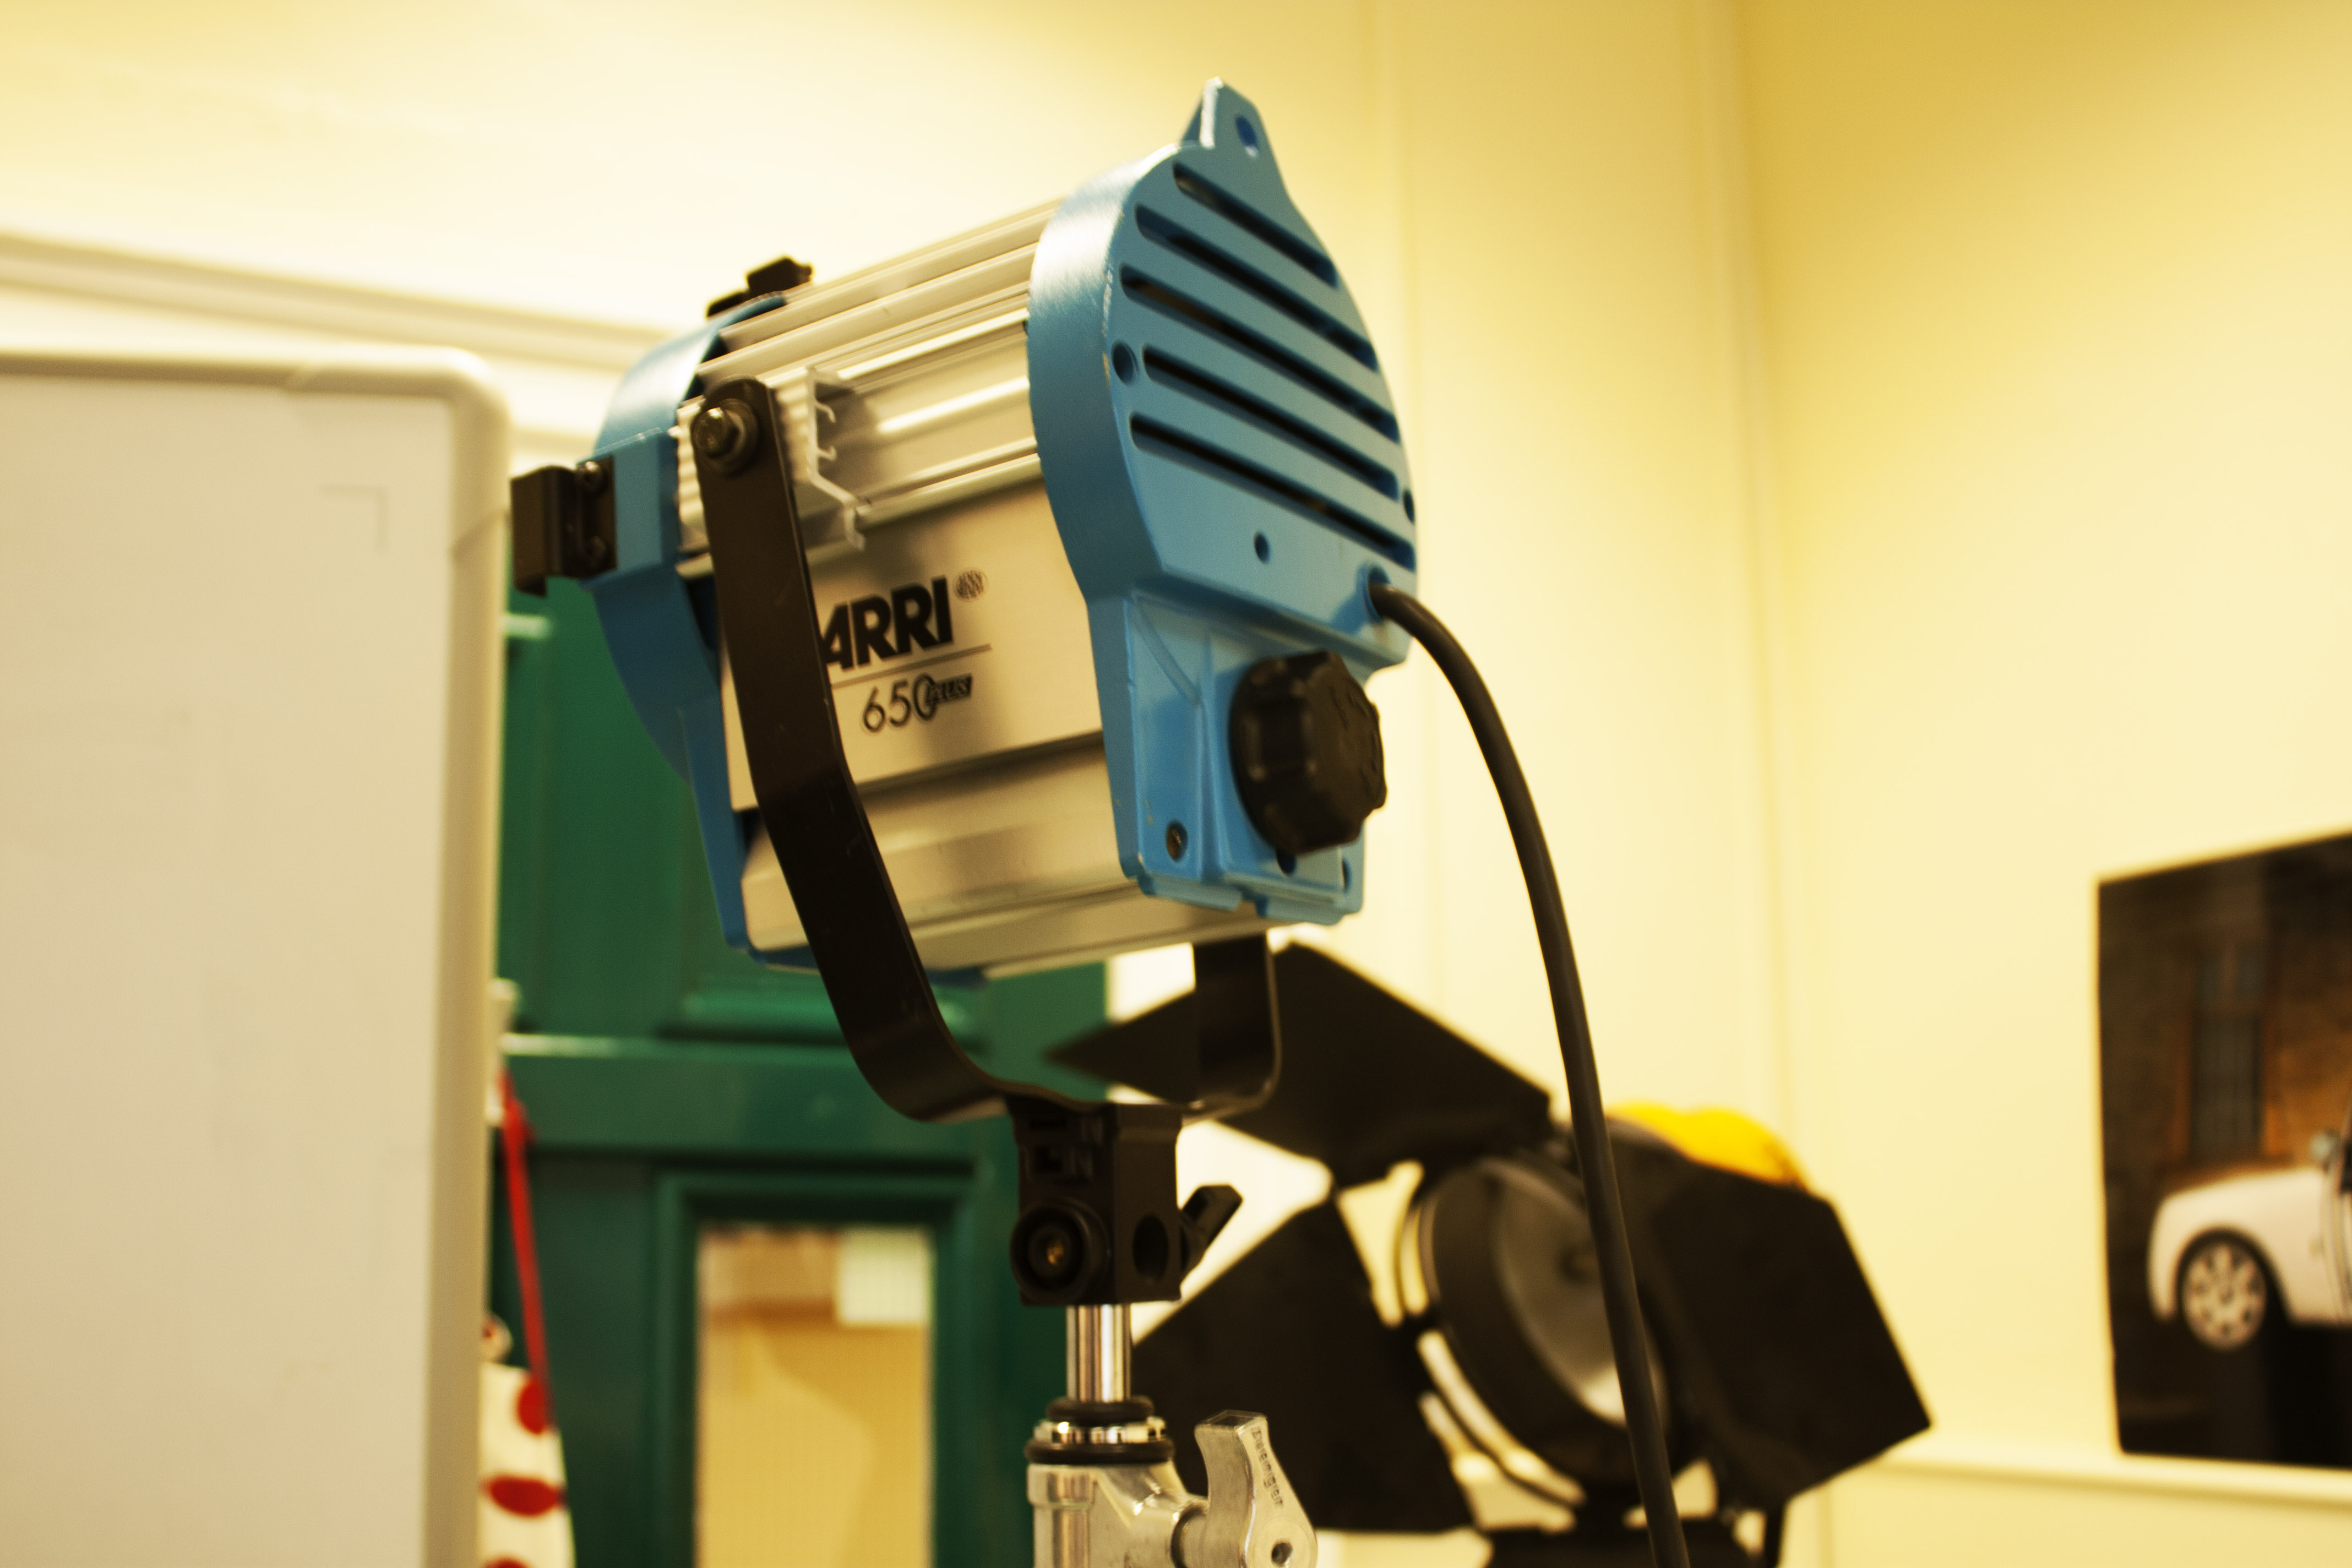
HMI 650K
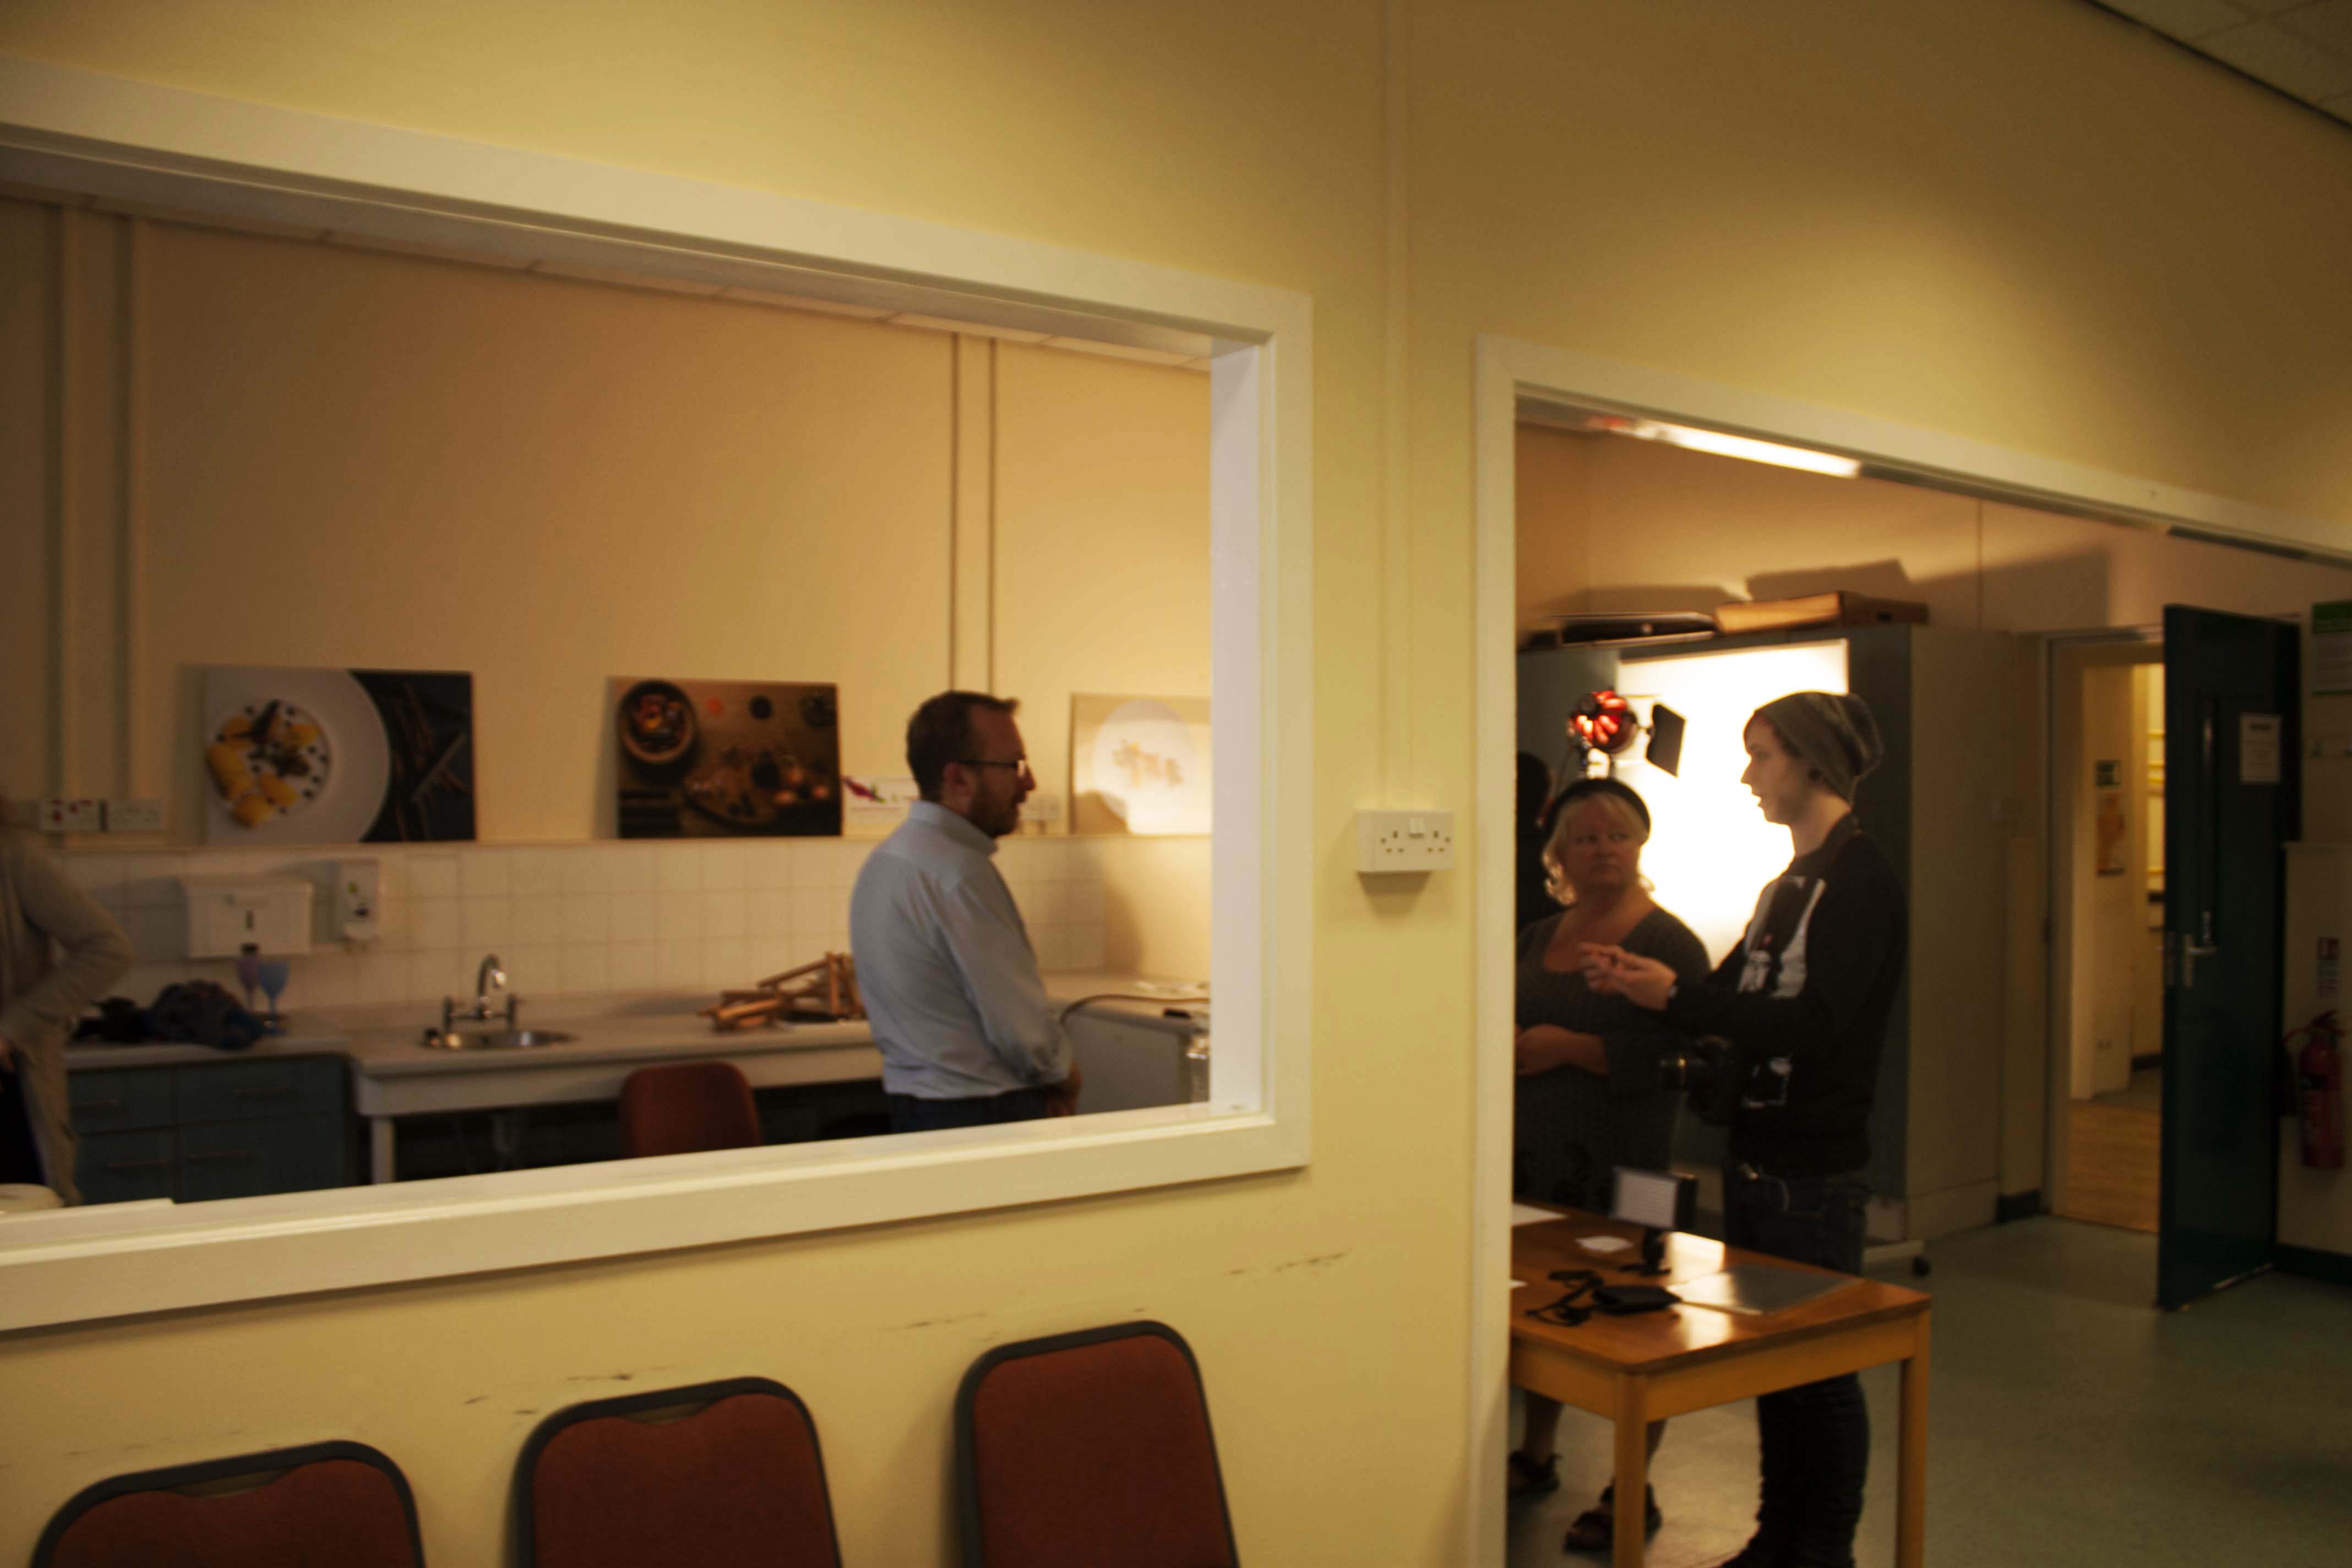
In this Workshop we have investigated and brought into light 3 different light sources. The initial work has been processed through an incandescent; fire burning light that heats up quickly. Such a light has a degree of resistance that produces an orange colour cast.
– Blonde, 2,000K- 3,000 Degree/Kelvin
-Red Head ( younger sister of the blonde hehe) 650 W
Through a Blue filter placed in front of such light sources one is able to produce a Daylight like temperature of 5,200 Degree/Kelvin.
The second Light sources that we investigated was that of the cool HMI- Discharge light source. Such a light source has principles that allow it not to get hot and remains stable all the time. Such a light source is good for producing Stop Animation with, as it provides same light intensity. A filter or a soft box is needed to produce a daylight effect or a cloudy effect light. NB when the bulb is warming up the colour is that of deep Blue as this intensifies it changes into a purer hue.
The final light source that we were able to analysis was that of the LED light source. Such a technology is one that will eventually overtake in the near future. Such a light has a wide range of light which produces soft shadows. Such a light source is extensively employed in a film based quality of light.
Testing Different Light Sources:
Light Source HMI with Soft Box on

AWB- Auto White Balance

Cloudy (6000K)
Custom Done without White Sheet TEST DAYLIGHT (5200K)
 Flash
Flash Shade (7000K)
 Tungsten Light (3200 K)
White Fluorescent (4000 K)
LED light Test

AWB
 Cloudy (6000K)

Daylight (5200 K)

Flash
 Shade
Shade

Tungsten Light (3200 K)
 White Fluorescent (4000K)
Custom White Balance Set up done with an HMI light source.

White Paper Test Setup. Ideally The whole view finder is the full paper area. Make sure that the photo produce is that of white. Through menu setup one can configure the colour cast, and the below result was attained. Whilst doing this we had some initial problems bringing out a clear white photo. Through the employment of Blue, Green and Red we tried to balance out the scene and the problem was solved. 

Working with Raw File and Bridge Processing
After taking a good number of photos in RAW format one should evaluate white balance colour cast that is subjective to the light condition that one puts his frame in. Through the conversion of raw file one is able to see the different colour temperature via the histogram either done through Photoshop or Capture One process.
As you can see below I have tested different colour temperature valued through the conditions presented in the following examples.


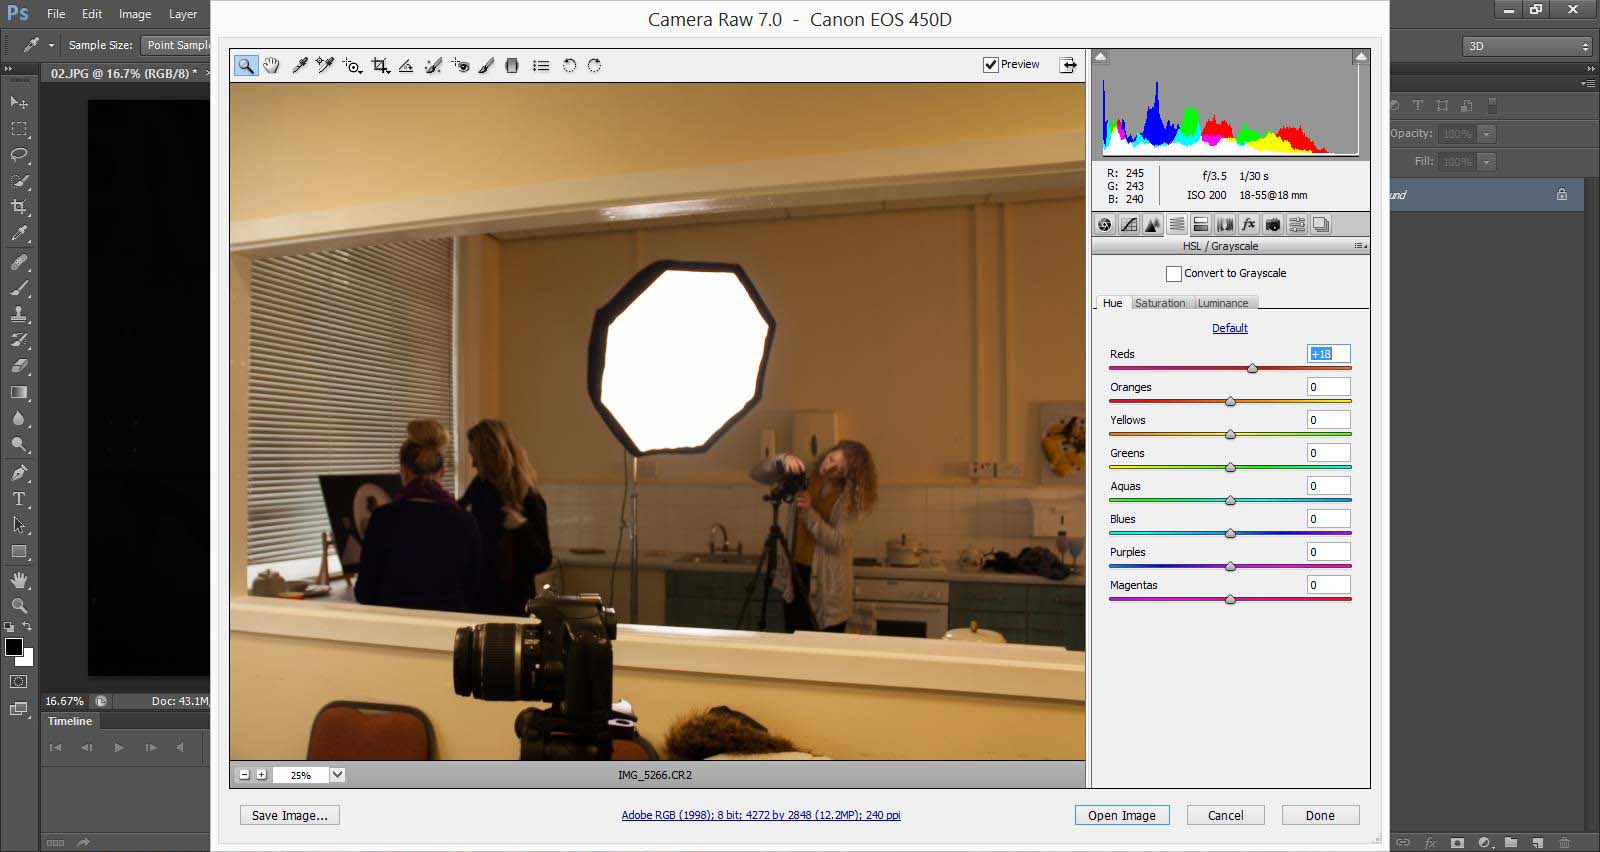

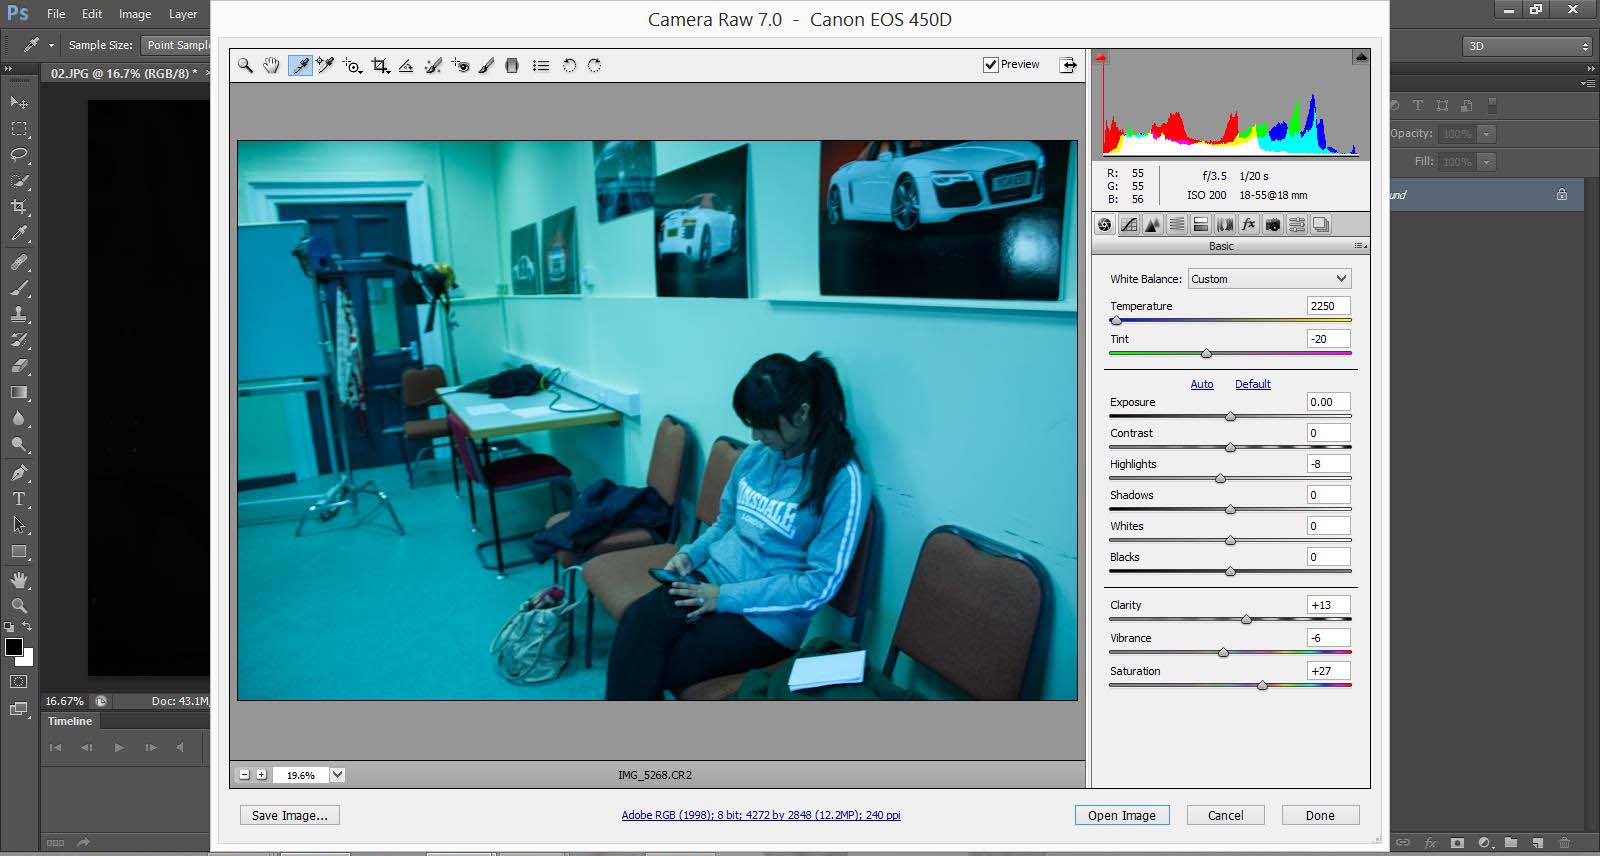
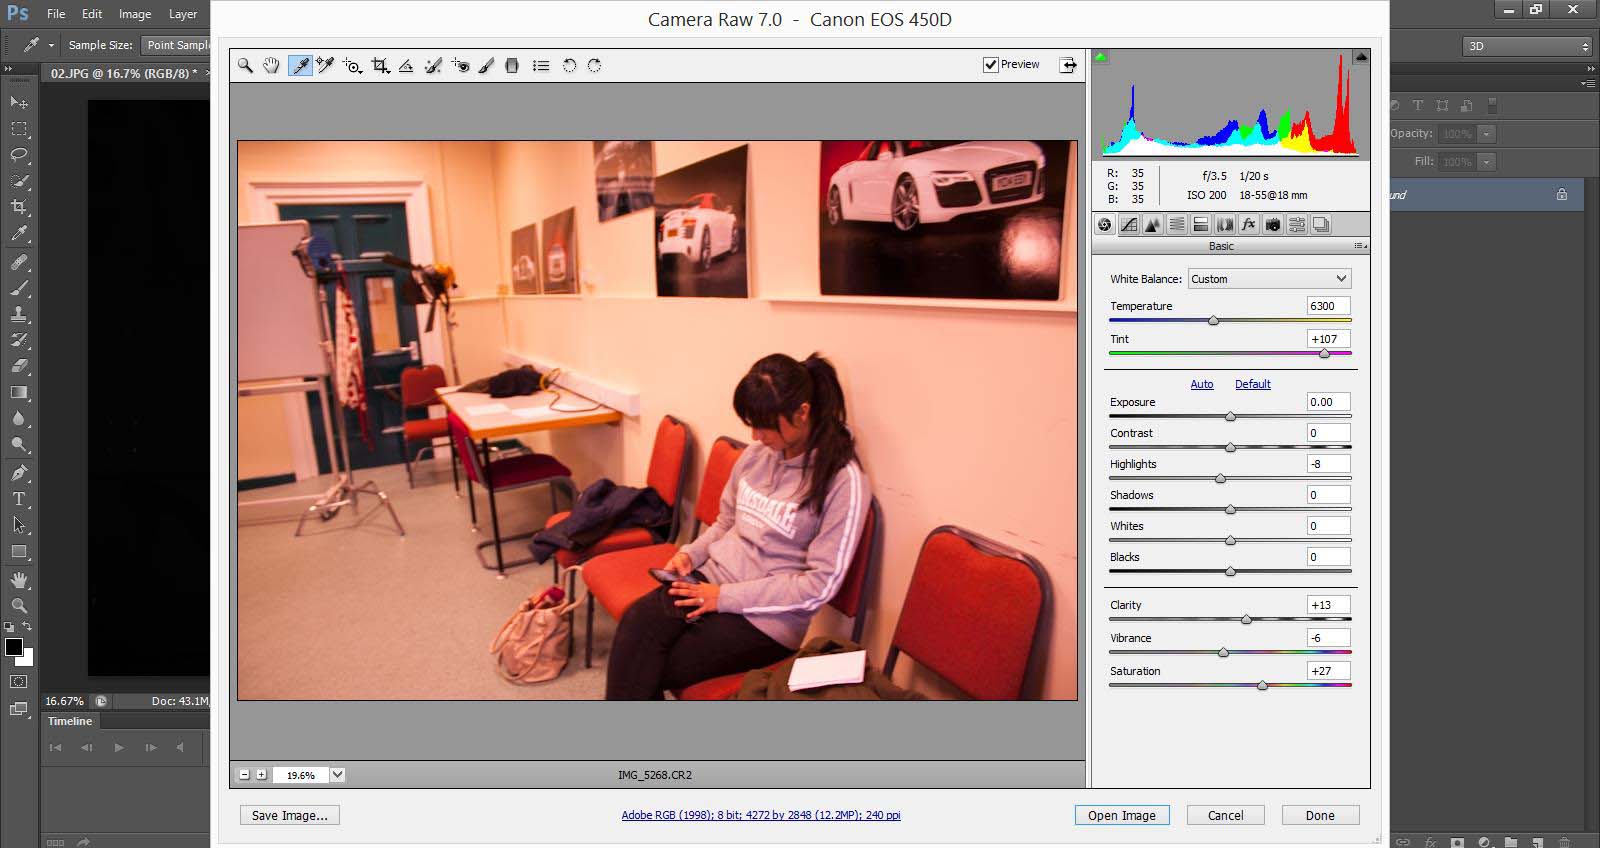
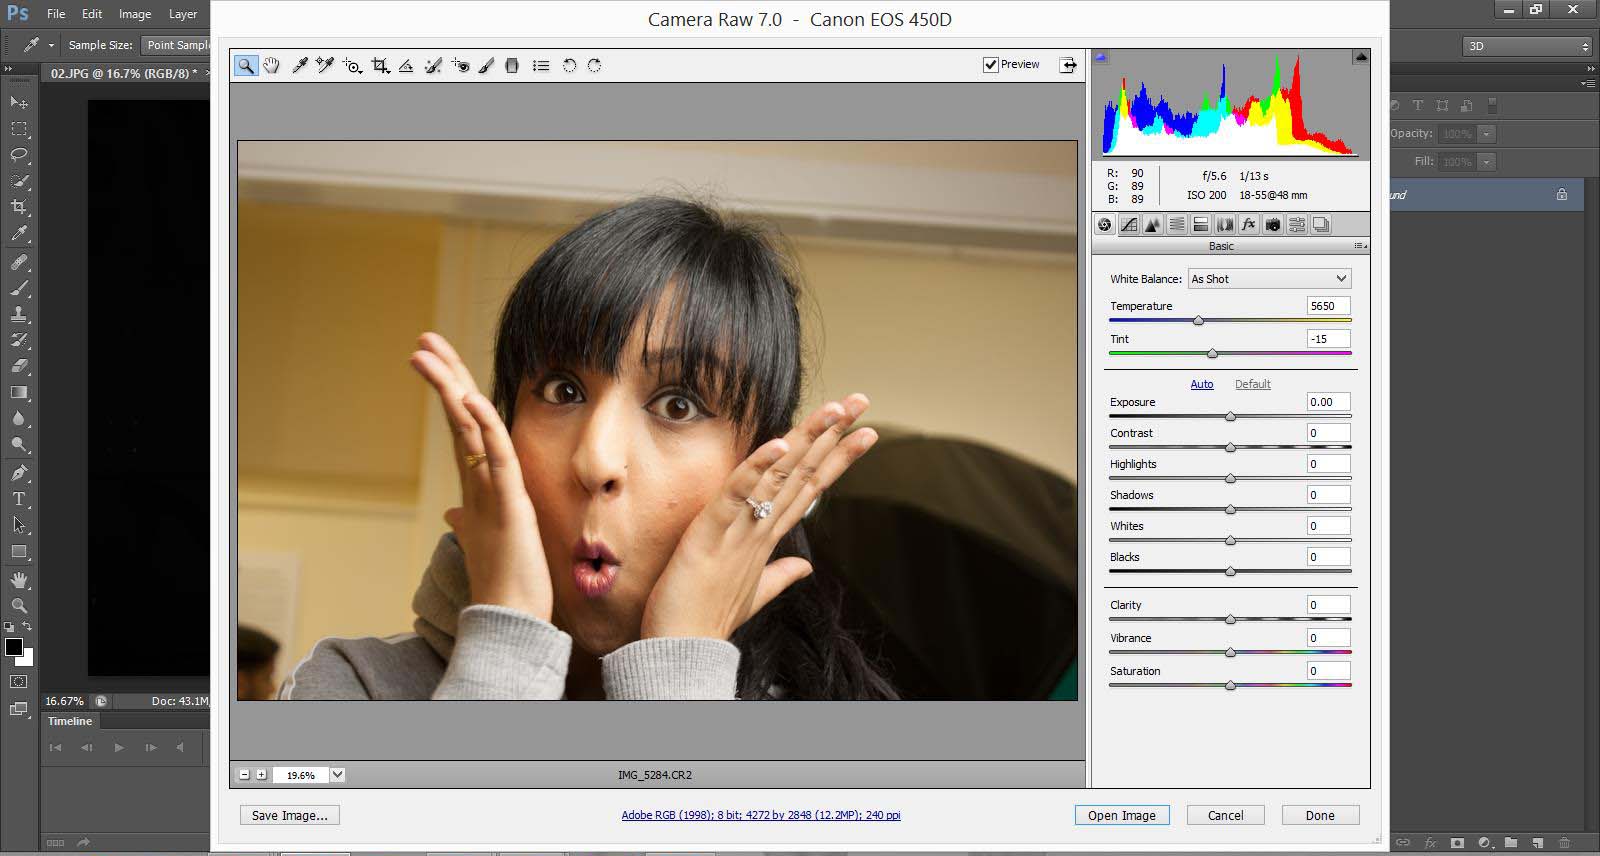

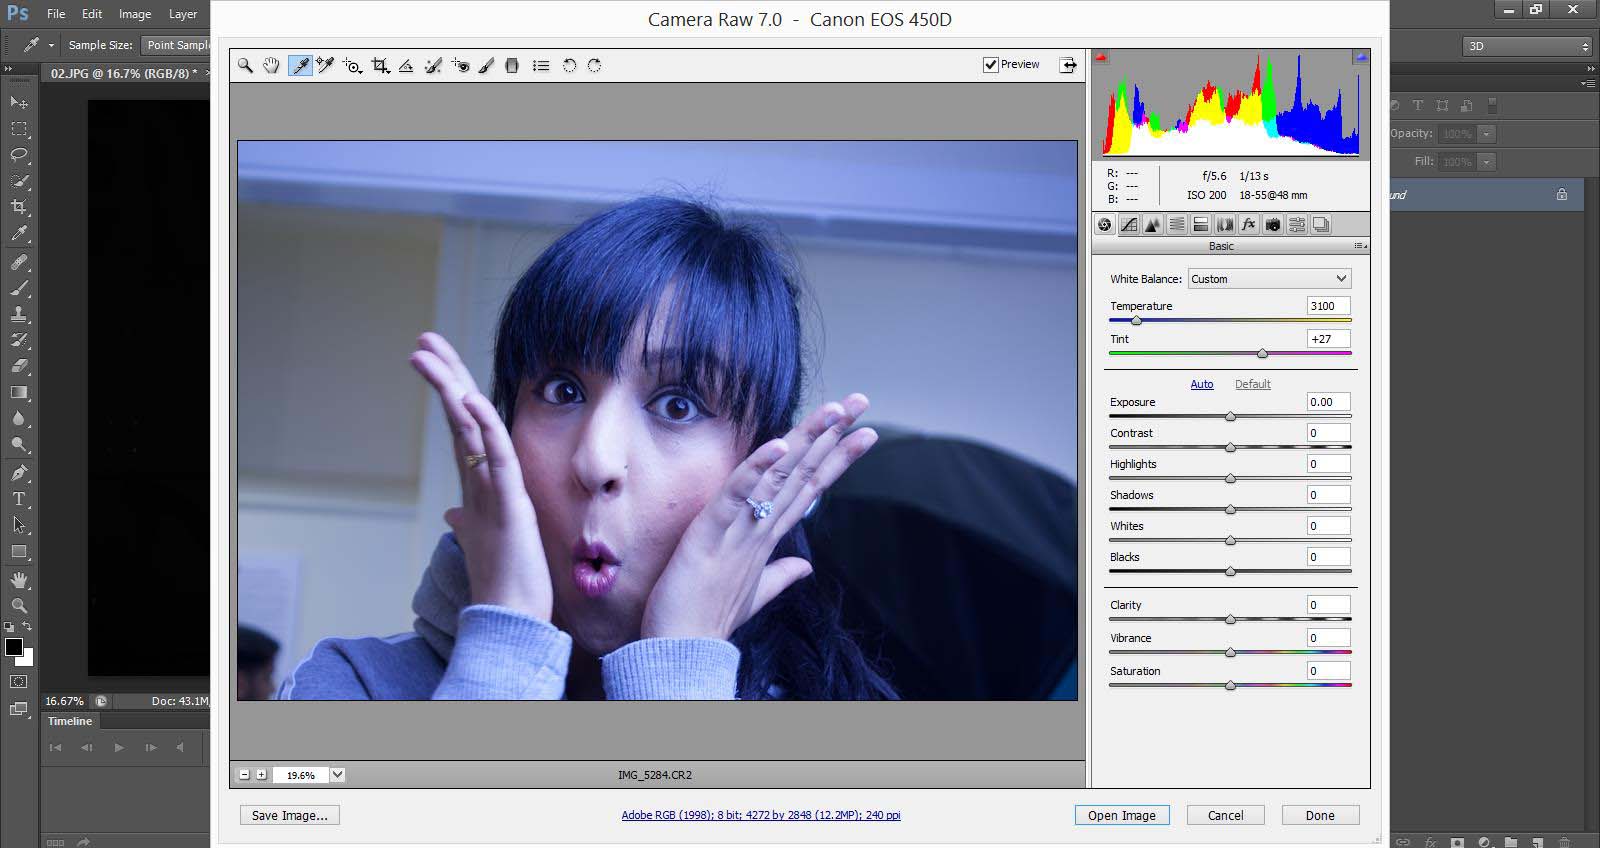


Through this technique one is able to find and understand the the pre sets found within a camera and it auto white balance. Things and details can still adjusted within a raw file. The most significant adjustment that one can do through a raw file histogram is to target colour mainly those of R G B. This is a scientific way of how one should acknowledge colour in a camera and qualities it has within.
Within such a histogram one is able to vary colour values, shadows, highlights, exposure, contrast, tint etc. Any colour image is produced through the variant of R G B thus the main foundation of a formulation is within these hues. It is thus the complimentary colours of the RGB that one can get when trying to attain a pure white balance understanding of an image.
BLUE – YELLOW
GREEN- MAGENTA/PINK
RED- CYAN
This is a significant part of the functionality of a histogram. One should always be aware of what is happening within these hues.
R G B – when one attains the same number – thus the image has an overall of same white – thus mutualizing the same layers.
One should always keep in mind that over doing it during edited stages, might not be an ideal way of crafting one’s skill. When light condition etc are in raw wrongly attained one should always rework and re shoot for a better understanding. All this will allow you to further acknowledge the analytical process and avoiding overdoing through digital means.
Outcome:
Through such a workshop I could further understanding the significance of colour temperature and the light surroundings that one takes for granted at times. In such a concept has allowed to understand the functional and broad investigation of different light casting. Each and every elemental principal of light should be increasingly investigated, as it will justify and profoundly effect the final photographic results of one’s perception.
Further Reading and Research:
1
https://fstoppers.com/post-production/learn-shoot-proper-white-balance-using-kelvin-temps-3328
2
3
